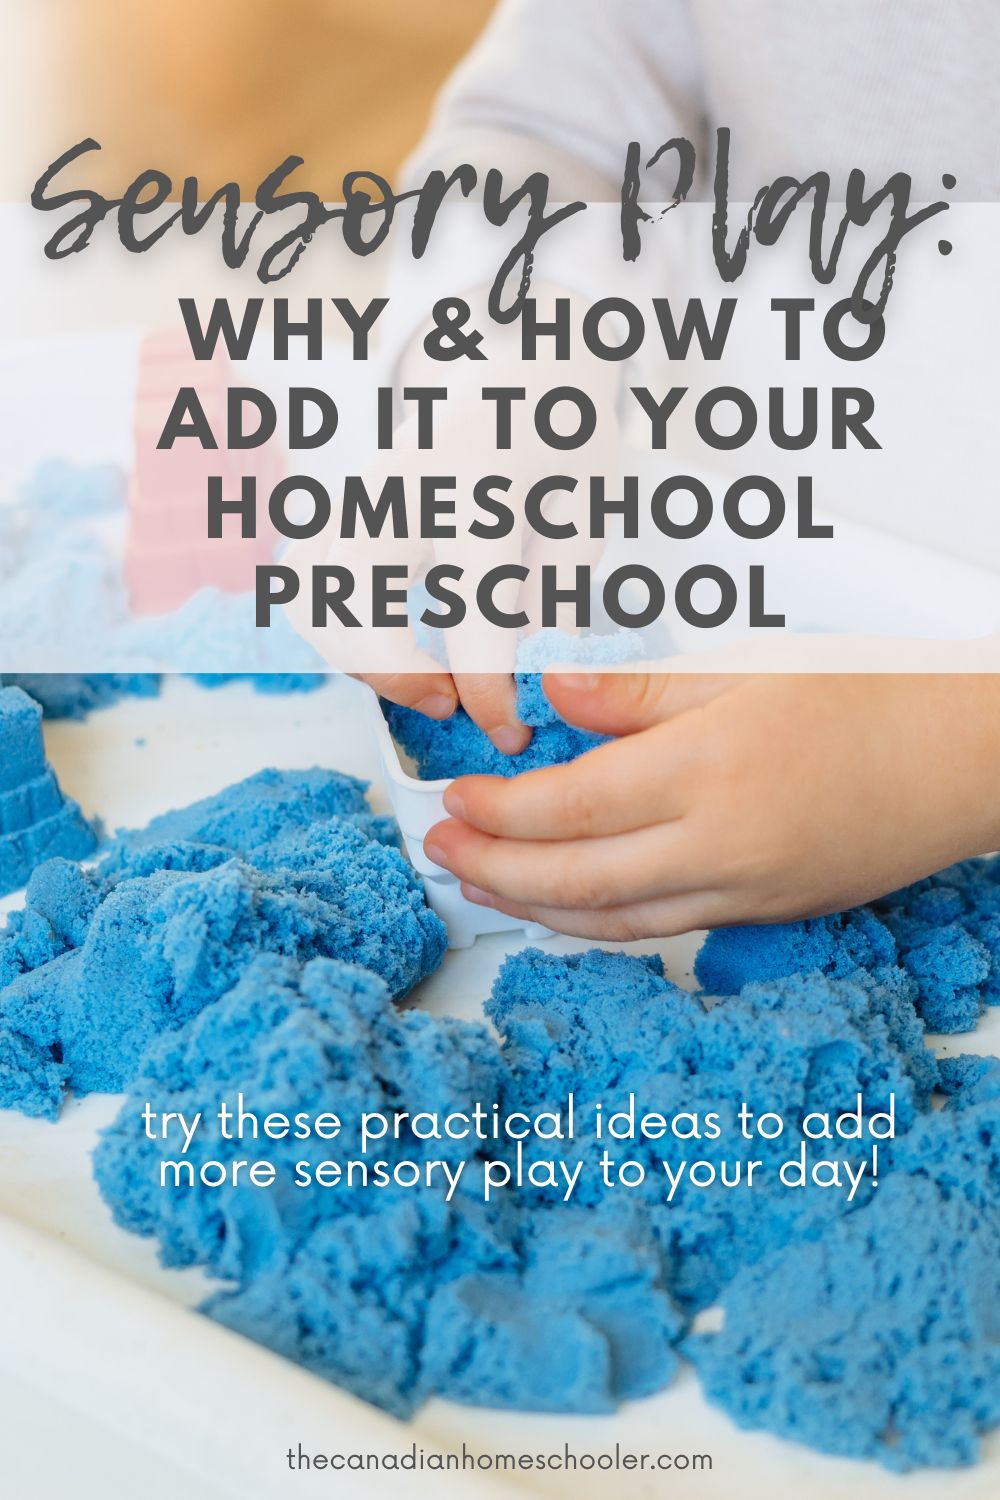
The early learning years are all about exploring the world with their five senses which is why we should consider including sensory activities for preschoolers in their homeschooling experiences. Sensory play might just seem like a big mess for parents, but to kids – they are not only a lot of fun, but provide information about the world they live in.
This post contains affiliate links.
Why Sensory Play Matters For Preschool
The first thing to answer is “What is sensory play?”
Sensory play is any activity that incorporates the use of the senses: sight, smell, taste, touch, and hearing.
You can provide these kinds of activities as early as infancy and add more complexity as children grow. In fact, even grownups enjoy sensory experiences! (Think of sitting in a scented bubble bath with soft music playing and drinking a cup of tea. It’s not play, exactly, but it does engage all your senses!) But they aren’t just for fun.
Here are some of the things that kids can learn while they play:
- language skills – developing new vocabulary, storytelling, communication
- fine motor skills – pinching, grabbing, poking, squishing, coordination skills
- observation and memory skills – searching, finding
- critical thinking skills – cause and effect, problem solving
- creativity – coming up with their own ideas, creating
- teamwork skills – sharing, working together, building off someone else’s ideas
- math and science skills – hypothesis, experimentation, numeracy
It is important to include a variety of sensory experiences to your child’s learning experiences because it engages the whole body, encouraging them to learn through a means they can fully understand at their stage of development. This provides you the opportunity to set learning goals and give your kids a creative way to reach them.
Where to Include Sensory Play in Your Preschool at Home
As a homeschooler, you probably don’t have a dedicated space set aside to be the “sensory corner.” (And if you do, that’s amazing.) Instead, we need to create a preschool learning environment that allows us to include sensory activities throughout the house. It’s easy to incorporate into all different rooms of the house!
The Kitchen
The kitchen is a terrific place to provide sensory activities for preschoolers because there are so many places they can play. Plus, it’s fairly easy to clean up afterwards since there is a sink nearby and the floor (usually) is sweepable / moppable.
- The sink: perfect for water play.
- The floor: handy for any activity that requires kids to reach into a bin or bucket because it is at a lower height than them.
- The table/island: a great space for activities that are flat or the child doesn’t need to look down into.
The Bathroom
The bathroom too has opportunity for learning. A bathtub provides an enclosed space where kids can get messy and then be cleaned up – or even getting clean while playing!
The Backyard
If you have a balcony, a deck or patio, a yard – there are plenty of things you can do outside. This is the perfect place to do anything ultra-messy, include nature-based sensory activities, and move around to add gross motor skills with their sensory play. My favourite part of outside sensory time is that I can hose them (and their play area) off before they come inside!
The Living Room or Bedroom
Although it can be hard to think of sensory play in a typically carpeted zone like a living room or bedroom, it can still happen! Instead of messy activities, these rooms are great for texture based, soft experiences – like fabric squares, stuffies, and listening to music.
How to Set Up a Sensory Bin
(Spoiler: It Involves Some Mess, and That’s Okay!)
First: The Sensory Bin or Table
The first thing you need is a place to do your sensory play activity with your preschooler. Many activities can easily be done with a bin or a box to contain the materials. Again, this depends on the specific activity, but one that I’ve found very handy is a long, flat under-the-bed plastic storage bin. I like that it comes with a lid and is big enough to have multiple kids use it at once. It’s deep enough for water play without them getting wet to their elbows as well (although, let’s face it – they will get soaked anyway!) This can be placed directly on a floor or table, or you can create or buy a designated sensory table.
Make Your Own Sensory Table
It’s not too hard to make a sensory table yourself. It’s basically a bin in a frame. I’ve seen different models that people have made from anything from an old coffee table, PVC pipe, scraps of lumber, and IKEA furniture hacks.
It’s important to consider:
- do you want a lid so that you can “close” the sensory station when you need to?
- how to empty the bin when play is done or you need to clean it? Should it have a drain hole with a plug or can you lift it out?
- do you want to be able to include one large bin or two+ smaller bins (ie. one for sand and one for water)?
- can the materials withstand water play or messy play without rotting?
- how much weight can your stand withhold?
- do you want to be able to move it?
- do you want it to be used indoors only, outdoors only, or in either place?
- how much space do you have for this?
The key thing to remember is that it needs to be at kid height. They shouldn’t have to struggle to see into the bin nor should they have to crouch over to play. It’s hard if you have kids of different ages and stages, but it is possible. Common sensory table height is to place the bin about 18″-24″ off the ground.
Buy a Sensory Table
There are lots of great looking sensory tables available. It really depends on your budget, your space, and what you want to use it for. Here are some examples:
Second: Fill it With Materials
Once you have the place to do your sensory activity, next you need to put something in it! You don’t need to buy anything expensive or fancy to create sensory activities. There are lots of great things that you have at home already. Here are some simple ideas:
- Uncooked Noodles: These come in a variety of shapes and colours, making the sensory experience a lot of fun.
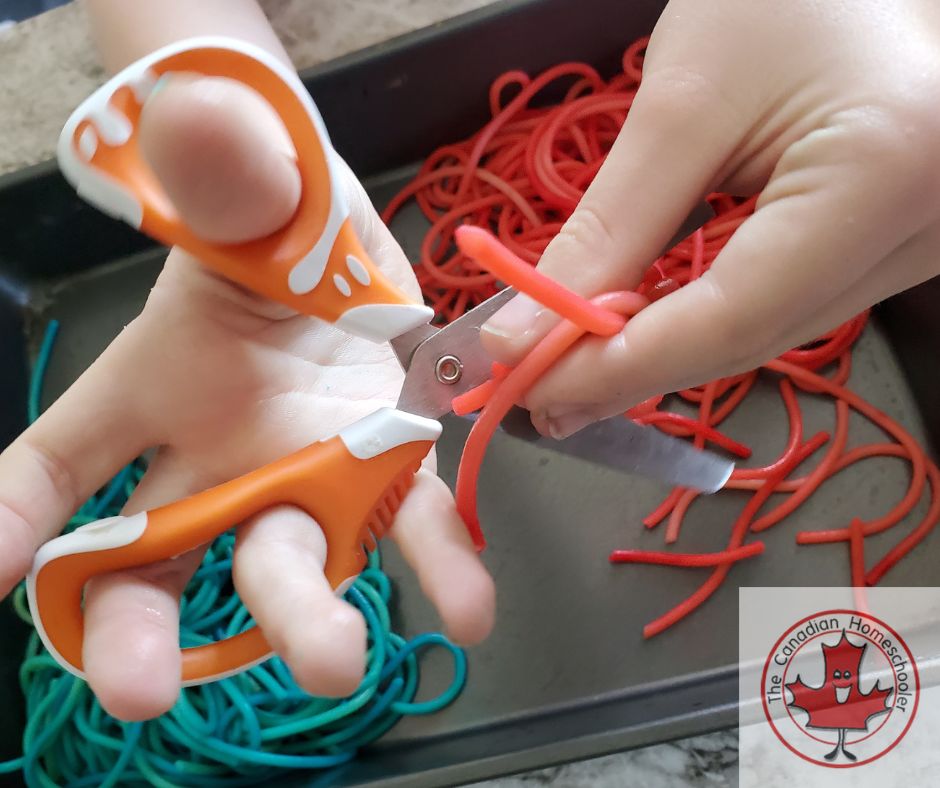
- Cooked Noodles: Long spaghetti noodles are particularly fun. You can dye them to add a new element + give them kid friendly scissors to chop them all apart.
- Ice cubes: Kids love ice. You can add flavouring to it by mixing in some koolaid powder or fruit juice before freezing. You can freeze little toys inside that they have to chip out. You can even freeze large blocks with lots of toys to create a full “excavation” experience.
- Rice: Again, this can be dyed to add an extra element of colour and even scented with some essential oils.
- Water: the most basic of all sensory play – it’s one of the best!
- Craft Supplies: If you fill the bin with “junk” and let them at it, kids are incredibly creative. Pieces of paper. Cotton balls. Buttons. Toilet paper rolls. String. Tape.
- Pudding: a great alternative to finger paint, it can be tasted and
- Oobleck: combine approximately 2 parts cornstarch and 1 part water (and colouring if you want!) to make a really slimy and scientific substance
- Dough: there are a lot of variations of dough out there – from moon dough (which is a little bit of oil mixed with flour) to the classic playdough which you can make out of ingredients most people have at home.
If you have a child who really can’t handle messes on their skin, you can provide plastic gloves which keep them safe but still let them experience some of the sensory play.
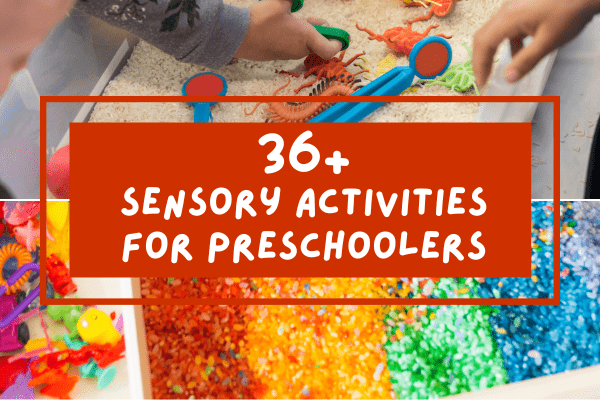
Need more ideas? Here are 36+ Sensory Activities for Preschoolers.
Last: Add Tools
Along with the actual items in the bin, you need to offer your child some tools to play and explore with.
- Measuring cups
- Spoons
- Scoops
- Little bowls or plastic cups
- Tweezers or tongs
- Magnifying glasses
- Ice cube trays
- Kid scissors
If you don’t have an idea of what kinds of gadgets to add to your sensory bin, let your kid have free access to the kitchen. They will find something that interests them!
Embracing the Chaos of Sensory Play (and the Cleanup)
One of the main reasons that parents are hesitant to include sensory play time with their preschoolers is the idea of the mess that it creates and the thought of all the clean up that will have to follow. Trust me, I get it.
A mess is part of a fun day of education. But there are some ways to help negate the chaos and help you clean up faster.
After years of doing sensory play, I highly recommend that you invest in a couple of plastic tablecloths with fabric backing from the dollar store to place under your play area. Not only does it keep your floor safe from the biggest of messes, but it’s easy to hose off, is reuseable, comes in so many patterns and colours, and – if it’s just so messy you can’t handle the thought of clean up, you can just fold it up so the mess is tucked away nearly inside and throw it away. You can buy cheap placemats for individual play use at the table for the same reasons.
Another tip? ALWAYS put your supplies away before letting them play. I’ve learned this from experience. I accidentally left the flour bin out and they made a huge, snow-like mess throughout my kitchen instead of playing with the playdough I’d just handmade for them.
Whenever possible, do your messiest activities in the places that allow for quick and simple clean up. Be near a sink or a hose or the tub – if the kids are going to get covered in something. Have wet washcloths on standby.
Have the kids wear aprons or old clothes. At our house, we bought a couple of adult button down long sleeve shirts at a thrift store and had the kids put them on backwards. Roll up the sleeves, button a couple of the buttons on their back to keep them in place, and voila~ no mess on their clothes. (Plus, they were washable if we needed to!)
Double bin if needed. Some sensory activities for preschoolers don’t need a huge bin. A small one works just fine. I found putting a cookie sheet under the small bin for a second layer of mess protection helps!
During play time, encourage the chaos to stay inside the bin. No dumping on the floor. No throwing. All the usual rules that you would want them to follow to help make your life easier.
And, of course, have them help with clean up, if possible. They love when we turn tidy up into a game like “how many can you hold?” or “who can find the most?” or even speed-tidy with a timer.
Happy Kids, Happy Mess, Happy Learning
Learning in the preschool years is often messy and engaging. I invite you to join them in their sensory play activities. Take pictures. Ask open ended questions. Challenge them to consider ideas and try new things. Create memories. Laugh together. This is all part of the beautiful chaos of homeschooling happy, curious preschoolers.
Looking for some sensory activities for preschoolers? Here is a list of lots of ideas which you can use to Read more

If you have decided to homeschool and you have a young child, you might be wondering how to homeschool preschool. Read more
It's a popular question these days, three year old at my side: "So when does he start preschool?" Well... never. It Read more

- Homeschool Spelling Essentials: Ways to Make it Engaging (and Canadian!) - October 4, 2024
- 10 Simple Homeschool Organization Tips For Busy Homeschoolers - September 16, 2024
- 5 Ways Homeschoolers Can Enjoy Back to School - September 10, 2024