Playdough is a staple sensory activity of childhood and one that you don’t have to spend a lot of money on in order to enjoy. In my years working with children, I’ve used many variations of recipes to make my own playdough. It’s simple and quick and easy to adapt to make extra special. Here are my favourite playdough recipes: one cooked and one that you don’t have to cook at all. It doesn’t really matter which option you pick – the results are basically the same.

Cooked Playdough Recipe
This playdough recipe makes smooth and silky dough in about 10 – 15 minutes (plus cool-down time).
Ingredients:
- 1 cup flour
- 1 cup water
- 2 teaspoons alum or cream of tartar
- 1/3 cup of salt
- 1 tablespoon of oil
- food colouring, jello powder, or koolaid powder (optional)
Directions:
In a medium sized saucepan, mix together all the ingredients and cook over med-low heat. Make sure to keep stirring. Children love helping with this step – at least when it’s easy at first. When you’ve just about given up that it’s going to work, the dough will start to lump together and eventually stick to the spoon in a giant ball. When it’s all on the spoon and nothing is left in the pot, remove from the heat and place on a plate to cool.
When it’s cool enough to touch, knead the dough on the counter much like you would with bread dough. This helps the dough continue to cool as it shifts the inside to the outside allowing all the heat to escape and creates a very smooth finish for the playdough.
No-Cook Playdough Recipe
This playdough recipe can be made in either a bowl or a ziplock bag and doesn’t involve the stove at all, making it easy to make wherever you are. The only trick is that you need hot water.
Ingredients:
- 2½ cups of flour
- ½ cup of salt
- 1 tablespoon of alum or cream of tartar
- 3 tablespoons of oil
- 1½ cup of hot water
- food colouring or koolaid (optional)
Directions:
Combine the dry ingredients and mix. In a separate measuring cup, combine the water, oil, and colouring. Add the liquid to the dry ingredients and mix. Knead well until completely combined and ready to use.
Some Playdough Making Tips
The playdough recipes above are just guidelines to ratios between water and flour. Although they are pretty good as is, sometimes you might need to adapt the recipe to get the perfect result. If the playdough turns out too sticky – add more flour. If it’s too dry and crumbles easily – add a little more water. You kind of have to feel it with your gut.
When making the cooked recipe, make sure you keep stirring. Yes, it will feel like it’s not working and you will be tempted to wander off just for a moment, but I’ve learned the hard way that it can end up ruining your final result. After the dough is sticking to your spoon, keep stirring for a moment longer to make sure the dough is the perfect consistency. It should stop looking wet and start looking dull and smooth.
If you decide to add colouring or powder to your playdough – mix it to the water before it gets added to the rest of the ingredients. This makes for a more consistant colour throughout the dough and is a lot less messy – especially if you are doing the no-cook edition and are using your hands to mix and knead.
What You Can Add to Playdough Recipes For Extra Fun
Playdough is so extremely versatile that you can reinvente it every time you make a new batch. There are lots of great things that you can add to your playdough recipe to keep it exciting and engaging. One thing to consider is how to add an extra element of sensory play for your preschooler. Playdough is generally all about touch, but can you add something for the other senses too?
Sight: Add some sparkles. Add colour. Make lots of different colours.
Smell: Add spices like cinnamon, nutmeg, or pumpkin spice. Add herbs. Add essential oils. Add Jello or Kool-Aid powder.
Texture: Add some little beads. Add rice. Add sprinkles. Add flower petals. Add birdseed. Use other natural elements like pine needles or leaves.
Taste: The thing is – playdough doesn’t taste very good at all. There is just too much salt to enjoy a bite, however lots of kids have tried it! If you are looking to add taste to your playdough experience, it might be worth making real cookie dough (without the raw eggs) and letting them play that way.
Sound: Again, this is harder because playdough is fairly quiet and anything noisy you might add is likely to get muffled by the dough. But you could experiment with krinkly paper or jingle bells and see if it works!
For the most part, these extras can be added during the final stage when you are kneading the dough. However, if you are adding any powder or scents, I recommend that you do these through the initial combination stage in order to make sure things are evenly balanced.

About Alum and Cream of Tartar in Playdough Recipes
Of all the ingredients in playdough recipes, these two are the most unlikely to be found in the average house’s spice collection. What are they and why are they added to playdough anyway?
Both of these powders help playdough last longer because they are preservatives, which is a bonus since it’s nice to keep the same playdough for a while instead of constantly having to make more.
Some common beliefs are that if you add cream of tartar, it helps to make the playdough smoother and more elastic whereas alum creates a firmer texture to the playdough. Personally, I can’t tell you if this is true as I’ve never experimented to find out. I just use whatever I have on hand.
And here’s the thing – if you don’t have either, you can just skip it. It’s not a mandatory part of the recipe, it just adds a little extra to make it better if you do have it.
Toys to Use With Playdough
You don’t need to invest a lot of money into playdough gadgets in order to encourage sensory play with your preschooler. Simple tools like cutlery, scissors, a rolling pin, any cookie cutters with cookie sheets, magnet letters – all work great! If you allow them access to just about anything in your utensil drawer, they will get creative! One of my favourite places to grab fun tools is the dollar store. They often have seasonal cookie cutters and other accessories that are just fun to add to the playtime! If you just want a few things to get started, you can buy a kit of playdough craft tools.
How to Store Playdough
The key to making playdough last is to keep it in a sealed container or a ziplock bag. If it gets left out or exposed to air for too long, homemade playdough becomes hard and crystallized, thanks mostly to the salt content. It’s best to put it all away as soon as playtime is over in order to help it last as long as possible.
Hopefully one of these playdough recipes will work for you and your preschooler to have lots of fun together!
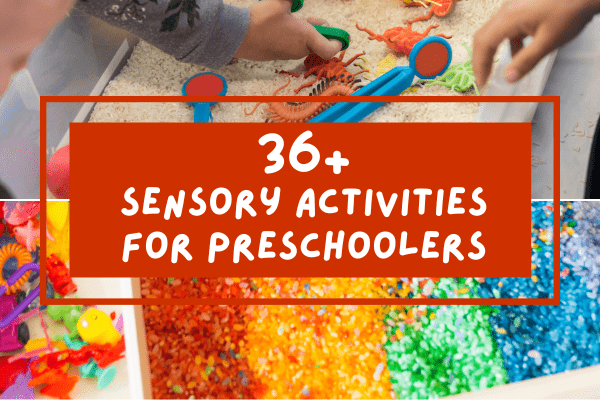
Looking for some sensory activities for preschoolers? Here is a list of lots of ideas which you can use to Read more
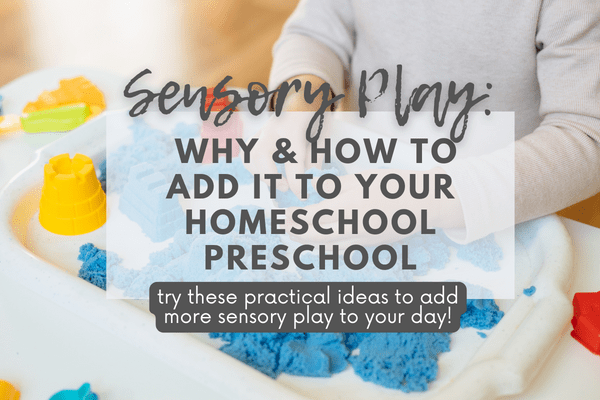
The early learning years are all about exploring the world with their five senses which is why we should consider Read more

If you have decided to homeschool and you have a young child, you might be wondering how to homeschool preschool. Read more
It's a popular question these days, three year old at my side: "So when does he start preschool?" Well... never. It Read more

- Homeschool Spelling Essentials: Ways to Make it Engaging (and Canadian!) - October 4, 2024
- 10 Simple Homeschool Organization Tips For Busy Homeschoolers - September 16, 2024
- 5 Ways Homeschoolers Can Enjoy Back to School - September 10, 2024