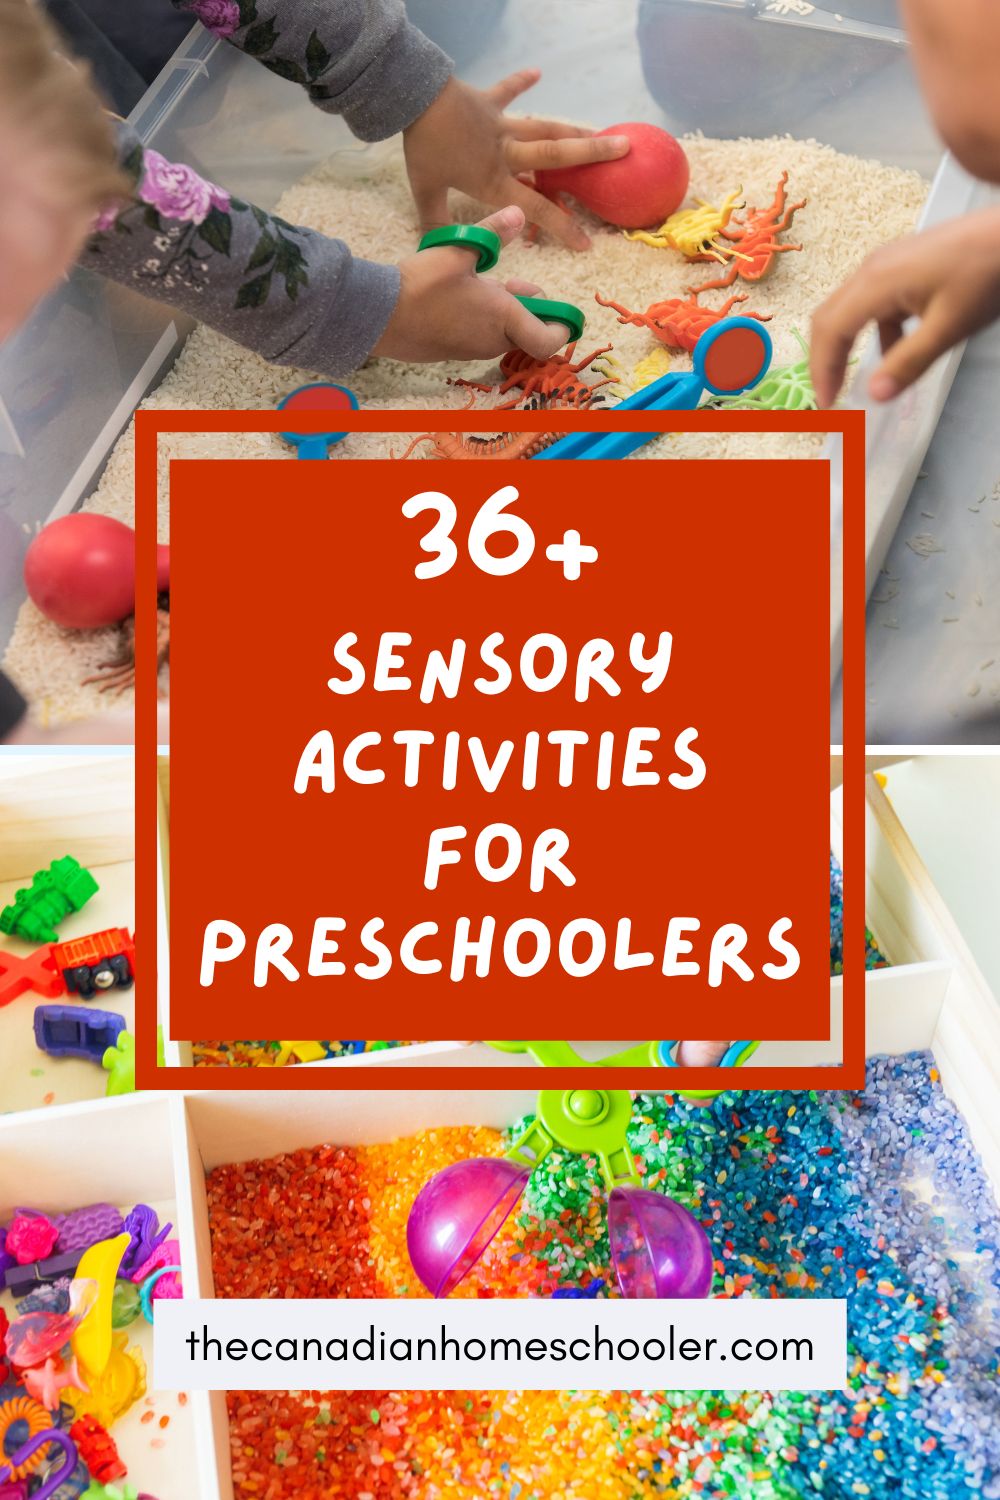
Looking for some sensory activities for preschoolers? Here is a list of lots of ideas which you can use to provide your young learner with some quality sensory play time. These activities focus on using the senses – sight, smell, touch, taste, and sound – in order to expand learning skills. Sensory play is an important part of an early childhood education and is easy to include in preschool plans at home. (Guess what? Babies, toddlers, and even older kids love sensory activities too!)
(This post contains affiliate links.)
Everyday Sensory Activities for Preschoolers
These activities can be done at any point throughout the year. If you are using them during a specific season or holiday, you can modify them to include appropriate colours or smells that would envoke feelings that would relate to that theme. For example, if you are doing playdough on Canada Day, you may choose to make a double batch – one in white and one in red. Or in the fall, you might choose to add cinnamon to it instead. Adapt things as you want to create a fun learning experience for your preschooler.
Playdough.
Playdough is a fun preschool toy. Although you can buy premade kits, it’s a fairly quick process to make playdough yourself at home. Playdough is very versatile. You can add all sorts of things to make it unique every time – from the colour to glitter to spice.
Oobleck.
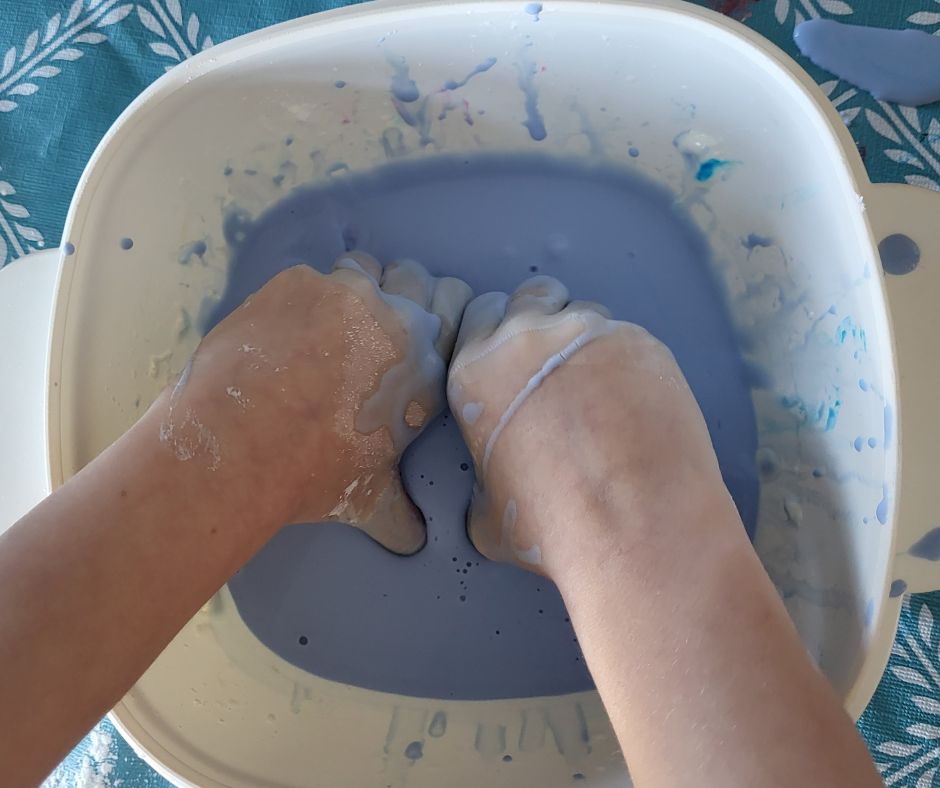
This is a unique sensory experience. Combine cornstarch and water in approximately a 2:1 ratio. You can add colour if you would like as well. It creates something called a non-newtonian fluid which means that it is a liquid goo when you touch is slowly and a solid when you grab it or punch it quickly. Kids are totally fascinated by this!
Fizzy Dough.
This is like the cloud dough mentioned under winter sensory activities, but instead of just being made of flour and oil, fizzy dough also involves baking soda. Then, your child can squirt or eye drop vinegar onto it to create a fizzy reaction.
Slime / Putty.
Slime is a oozing kind of liquid that has quite a unique sensory experience. Kids are always fascinated by it and you can colour it or add interesting things to it to ramp it up ever more. Putty is similar, but tends to be thicker in texture. These can both be challenging to make and include ingredients that might not be safe for any child who is prone to putting things in their mouths. Make sure to consider slime safety before adding it to your sensory rotation.
Hardware.
Fill up a bin with some bolts, nuts, washers, etc. I do recommend that you avoid screws and nails because they are sharp. And make sure they aren’t old ones that are rusty. (The picture below was from a day when my preschooler was helping me sort out all our miscellanous hardware collection so that we could put them into bins.)

Salt.
Salt is a simple sensory material. When you use just a thin layer of salt in the bottom of the bin, it’s perfect for writing with your finger in as it pushes the salt off to the side, leaving the shape of whatever you wrote behind. Salt can also be lightly coloured with chalk (put some salt in a zippered bag with a colourful piece of chalk and shake!) or with food colouring doing the same thing with a few drops of colour for a more vivid result.
Soap.
Instead of adding water to soap to make bubbles, add soap to water and let the kids make their own bubbles with whisks, spoons, their hands, anything they want! Also, you can shave pieces of a soap bar into the water and chase them around!
Materials.
Fill the sensory bin with a collection of miscellanous textiles like fabrics and ribbons. Or consider different kinds of paper – sandpaper, corrigated cardboard, tissue paper, etc. You can even add some bubble wrap!
Shaving Cream / Whipping Cream.
Both of these make for some fun sensory activities. Shaving cream tends to come scented and definitely cannot be put in the mouth, whereas whipping cream is edible by plain (unless you whip it yourself and add flavouring). You can hide things under the cream – and have a hunt for all the toys! Or, if it’s a specific season or holiday, add something themed for them to seek for.
Stones & Dirt.
You can either collect your own small stones to fill your sensory bin, or you can buy some river rocks, the pebbles that people put in the bottom of fish tanks, or some lava rock. Combine stones with some dirt to make it more like a construction zone. If your child is big into toy trucks, this is the perfect opportunity to have them drive around doing “work.”
Craft Supplies.
Pom-poms. Buttons. Cotton balls or batting. Pipe Cleaners. The holes from a hole punch. Straw pieces. All these work great on their own or combined together. For example, you can challenge kids to tweezer or spoon pom-poms into egg cartons, or poke pipe cleaners through the holes of a button. Kids will come up with their own creative way to make things with these crafts.
Water Beads.
Water beads arrive dehydrated and expand when exposed to water. It does take a long time for them to reach their full size (somewhere around 4 – 6 hours), but once they do, they are fun to play with. Great for scooping, sorting, counting, colour recognition, and much more.
Floam.
Floam is a lightweight modeling material made of tiny little beads that stick to each other. It can be shaped much like playdough but it never dries out – even if you leave it out for long periods of time. It comes in a variety of colours.
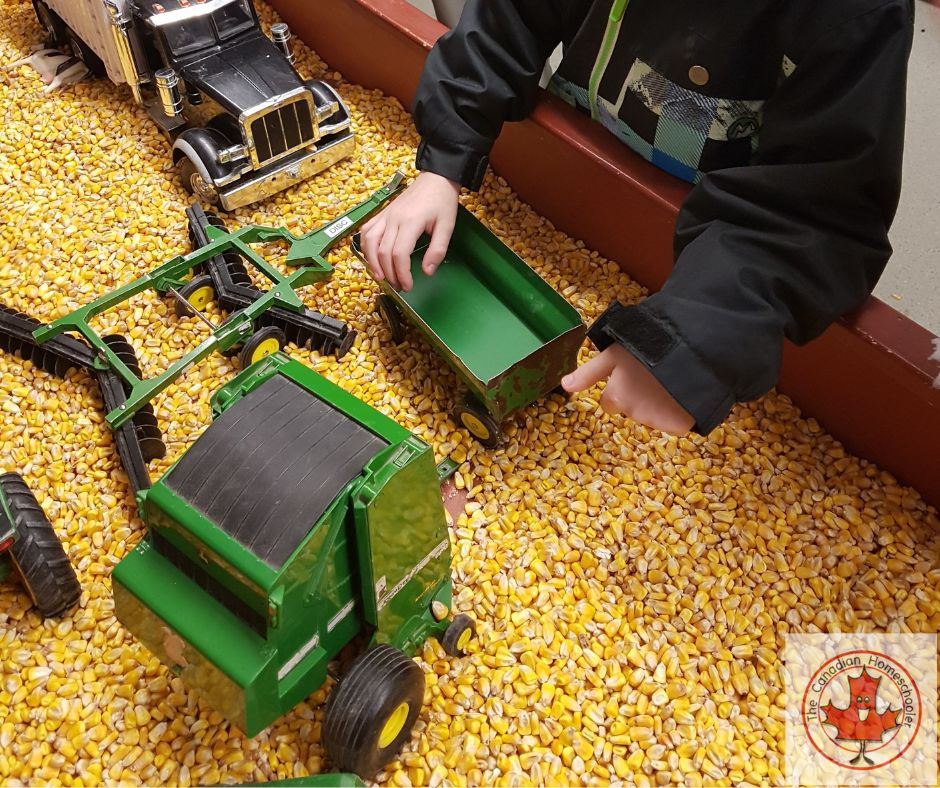
Food.
There are so many different food options to fill your sensory bin – like pudding, jello, corn meal, flour, dried corn kernals, oats, dried beans, dry noodles, popcorn, etc. If you want to change things up, you can colour a few of them.
- Cooked spaghetti or other long noodles: Cook the noodles. Separate into however many colours you would like to make and add each pile to its own ziploc bag. Add some food colouring drops. The more drops = the more vibrant. Seal the bag and smush the noodles around to mix in the colour. When you are happy with the colour, rinse it off with plain water and you are all set to play! These are so much fun with plastic forks and knives and scissors. This will not last more than a couple of days max before you should throw them out.
- Rice: Do not cook the rice – put it dry into a ziploc bag and add some food colouring. Some people recommend adding a couple of tablespoons of vinegar or rubbing alcohol before adding colouring in order for it to adhere better. It’s important to rinse and then spread the rice out on a baking sheet to dry before playing.

Winter Sensory Activities for Preschoolers
Snow.
Children LOVE to play with snow – whether indoors or outside. Scoop up some of the white fluffy stuff and fill your indoor sensory bin so they can explore it with bare hands. Let them taste it. Let them discover how it melts to water. Let them pack it into containers and drive toy cars through it. And then, when you are outside, bring squirt bottles of food coloured water outside and paint in the snow.
Artificial Snow.
If the weather just isn’t co-operating so you don’t have enough snow to play with the natural stuff or it’s too cold to play with, you can buy artificial instant snow to fill the sensory bin. It creates a fluffy snow-like material. Kids love to see it change and expand while it’s being created – it’s like a magic trick. (Please note: do not taste this version of snow.)
Frozen Bubbles.
When it’s extremely cold, you can actually create frozen bubbles.
Cloud Dough.
Cloud dough is a crumbly, fluffy cousin to playdough. It is the combination of flour and oil at approximately a 8:1 ratio. If you have a child who is likely to put it in their mouth, or you want to encourage safe tasting – use an edible oil as opposed to the popular recipe which uses baby oil. If you leave it as is, it will be a mostly white colour similar to snow. Of course, you can also add some extras – like cocoa powder and marshmallows to give it a hot chocolate cloud dough experience.
Ice.
Winter is all about cold, so why not let them experience that cold from the safety of their sensory bin. Freeze some water – whether in a typical ice cube tray or a variety of containers. You can also add in some glitter or sparkles.
Snowflake Confetti.
Often you can find unique seasonal craft supplies at places like the dollar store which can be a great base for a sensory bin. For example, you could get some snowfake confetti which would be a blast to play with. Just watch they don’t decide to snow your whole house by throwing the snowflakes up in the air!
Christmas Decorations.
Think tinsel, jingle bells, pom-poms, mini Christmas trees, etc. The holidays are a great time to check the dollar store for unique themed items that you can pop into the sensory bin. If all else fails – think red and green.
Gift Wrapping.
Save little boxes and bins and put it in the sensory box for gift wrapping fun along with some scraps of wrapping paper, tape, some ribbons or bows, and cards.
Spring Sensory Activities
Seeds.
You can just use birdseed, if that’s easiest. This makes for great scoop and pour activities, exploring the differences between seed types, and more.
Gardening.
Get some potting soil and some small starter pots. (You can even use egg cartons instead.) Give your preschooler a small spade and some vegetable seeds and let them plant their own. Make sure to include a squirt bottle to allow them to spritz their newly planted seeds.
Flowers.
Fill the sensory bin with real (or fake) flowers. Allow them to pull the petals off and make piles with them. Include the leaves. Do different kinds of flowers so they can see what they have in common and what they don’t. Include magnifying glasses so they can get in closer. You can also find those florist sponges so they can create their own flower arrangements.
Easter Eggs.
Put some of the Easter basket grass in the bottom of the bin, throw in some of those plastic eggs that open and close along with some little toys or things they can put inside. Bonus if they are cute little chickens and bunnies.
Summer Sensory Activities
Sand.
This is a staple of childhood – digging in the sand. If you have a sandbox, this is easy enough, but you can also use sand inside in your sensory bin. Play sand is usually available in large bags at a local hardware store in the summer time, however you can also use Kinetic Sand – which is a toy-based version of sand. It comes in much smaller quantities than play sand and can be stored for reuse. Some fun extras you can do with sand are adding seashells and having different containers to try building different sand castles.
Mud.
Kids love sand, but kids LOVE mud. This is why there are great inventions called Mud Kitchens which encourage kids to play with mud and nature to make mudpies and messes. I recommend that you do this outside where you can easily clean off your child when finished. I don’t think I need to explain what kids can use mud for. They are really great at figuring that out on their own!
Water.
This is another staple sensory item. Water is a fantastic way to practice scooping, dumping, and pouring. You can also add sponges and eye droppers. Try some citrus circle slices. Or dishsoap with some plastic dishes they can wash. Honestly, the limitations are endless when it comes to water.
Ice.
In summer, kids want to get cool and ice will definitely help with that. Freeze some small toys in a large block of ice and let them chip it apart with toy tools. Fill ice cube trays with coloured water (with food colouring, jello, or koolaid powder) and add some popsicle sticks as handles so they can “paint” with the cubes. They can even taste test if they want!
Watermelon.
Cut a watermelon in half and let the kids scoop it out with spoons and tools. It’s a messy but fun way to get a snack. They can work on digging out seeds and discovering how much thicker the rind is from the red part they love to eat!
Bubbles.
You can not only blow bubbles in the summer, but you can also create a whole bubble experience. Fill up a kiddie pool with bubble bath soap (or dishsoap) and water to make a bubble pool. Expect there to be a bubble fight if you are doing this with more than one kid!
Fall Sensory Activities
Leaves.
Go outside and collect a whole bunch of different leaves to put into your sensory bin. I’d recommend going on a dry day so they don’t get moldy sitting in your bin. Get a magnifying glass. Paper and crayons without their wrappers to try rubbing textures. Have a leaf scavenger hunt. You can even add things in pinecones and maple keys.
Apples.
Harvest season offers lots of opportunities to explore different fruits and vegetables. Pick out apple seeds. Cut them in different directions and let them explore. Have small bite-sized pieces of various apple varieties for a taste test. Offer some paint or pudding to do some stamp art. Let them use kid-safe kitchen tools to practice their skills such as chopping and mashing.
Pumpkins.
Scoop the guts out of pumpkins and try to separate the seeds from the fibers. Include a variety of gourds and pumpkins to compare.
Remember, the goal of sensory play is to engage your child’s senses. Try to think of sensory activities for preschoolers that use their sight, smell, taste, touch, and sound in order to help with learning and to have a lot of fun along the way.
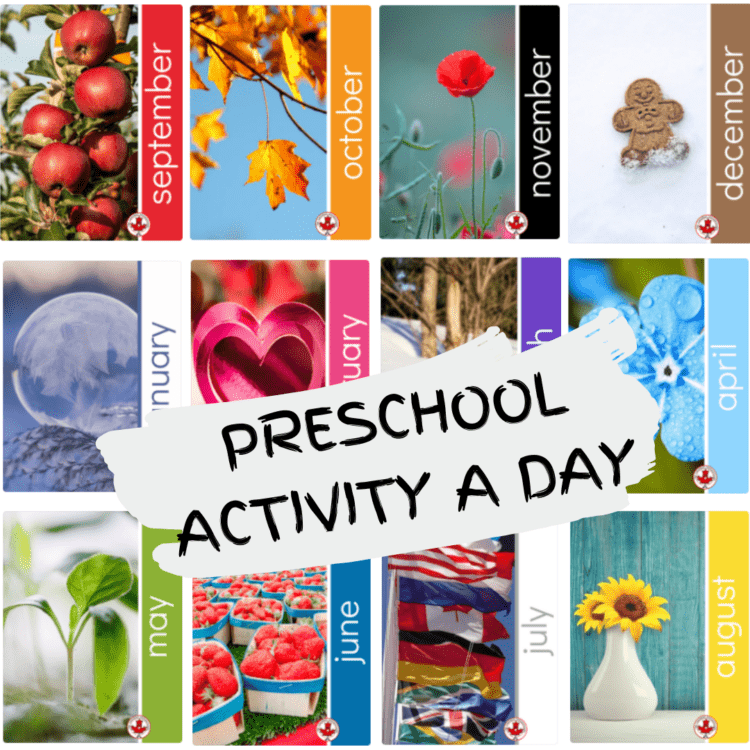
These activity calendars help you spend some intentional, quality time with your little one, doing a variety of fun and interactive things.
There are no worksheets – everything is hands on.
You will find activities for art, cooking, dramatic play, sensory, getting outdoors, science, music, and more.
Although I’ve given each activity to a specific day, you can move, skip, and change things around in whatever way will work best for you and your family.
Find the Preschool Activity A Day calendars in my shop.
The early learning years are all about exploring the world with their five senses which is why we should consider Read more

If you have decided to homeschool and you have a young child, you might be wondering how to homeschool preschool. Read more

The changing seasons are a curious thing for kids. What kinds of things happen when the season moves from summer Read more

- Homeschool Spelling Essentials: Ways to Make it Engaging (and Canadian!) - October 4, 2024
- 10 Simple Homeschool Organization Tips For Busy Homeschoolers - September 16, 2024
- 5 Ways Homeschoolers Can Enjoy Back to School - September 10, 2024